
Hey there, fellow backyard adventurers! Are you ready to take your outdoor space from “meh” to “marvelous” with a DIY fire pit? Get ready to ignite some serious coziness and create memories that’ll warm your heart (and your marshmallows) for years to come!
Step 1: Pick Your Perfect Spot
First things first, scout out the ideal location for your fiery masterpiece. You’ll want to choose a flat, level spot away from any overhanging trees or structures. Safety first, folks!
Step 2: Gather Your Materials
Now it’s time to gather your materials like a seasoned scout on a wilderness expedition. Here’s what you’ll need:
– Fire pit kit or materials (bricks, stones, or metal ring)
– Shovel
– Level
– Sand or gravel
– Safety gear (gloves, safety glasses)
Step 3: Dig Deep (But Not Too Deep) – Safety First!
Before you start digging up your backyard like a treasure-hunting pirate, let’s make sure you’re not about to unearth any buried treasure of the utility variety. It’s crucial to prioritize safety by visiting https://www.colorado811.org/ before you start your excavation extravaganza. This free service will ensure that there’s nothing lurking beneath the surface that could turn your DIY project into a major headache.
Once you’ve got the all-clear from Colorado 811 and any necessary utility lines have been marked, you can dig in with confidence, knowing that you’re not about to accidentally strike oil (or worse). Safety first, folks – it’s the key to a successful (and incident-free) backyard adventure!
Grab your shovel and start digging! You’ll want to create a shallow pit, about 6-12 inches deep, depending on the size of your fire pit kit or desired design. Pro tip: use your level to ensure the ground is nice and even.
Step 4: Lay the Foundation
Once you’ve got your pit dug, it’s time to lay down a solid foundation. Fill the bottom of the pit with a layer of sand or gravel to provide proper drainage and stability. This will help prevent any unwanted sinkholes or wobbly flames.
Step 5: Build Your Pit
Now comes the fun part – building your fire pit! If you opted for a fire pit kit, simply follow the manufacturer’s instructions to assemble your masterpiece. If you’re going the DIY route with bricks or stones, get creative with your design. Stack them in a circle or square, alternating sizes for a rustic-chic vibe.
Step 6: Light ‘Em Up!
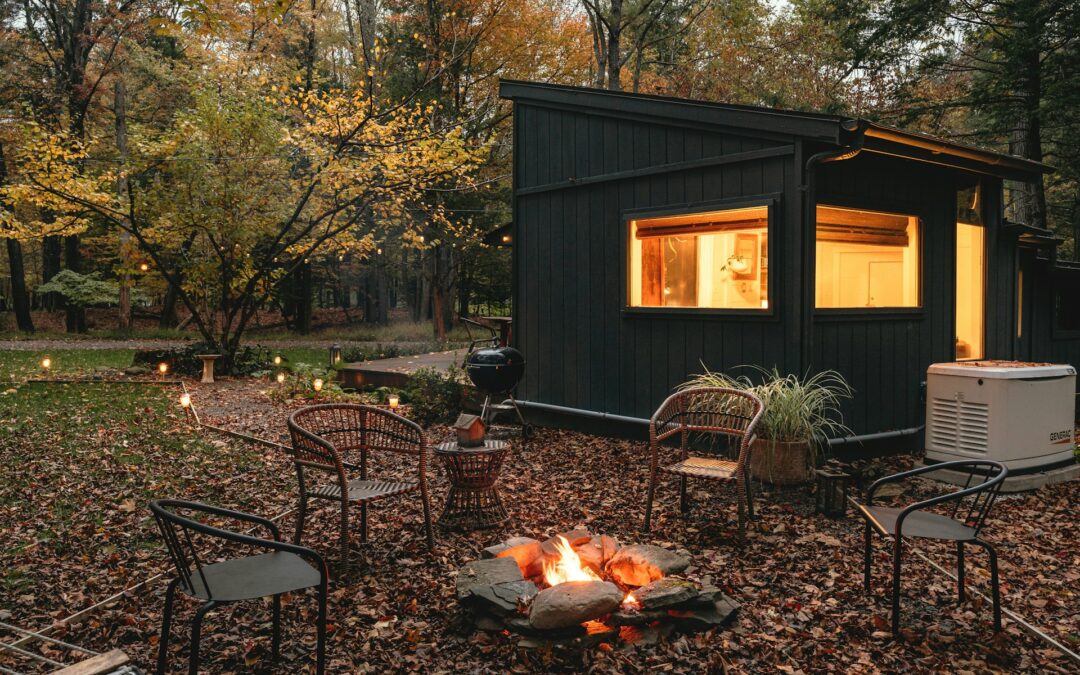
With your fire pit built, it’s time to put it to the test! Gather some firewood, strike a match, and let the flames dance. Sit back, relax, and enjoy the warm glow of your handiwork as you toast marshmallows, swap stories, and make memories that’ll last a lifetime.
Step 7: Safety First, Last, and Always
Before you get too lost in the magic of your roaring fire, remember to keep safety front and center. Never leave your fire unattended, and always have a bucket of water or a hose nearby, just in case. It’s all fun and games until someone’s marshmallow catches fire!
So there you have it, intrepid backyard adventurers – your very own DIY fire pit, ready to turn any ordinary evening into an outdoor adventure! Now go forth and bask in the warm glow of your backyard haven.